
Toshiba-Printer-E-mail-Setup
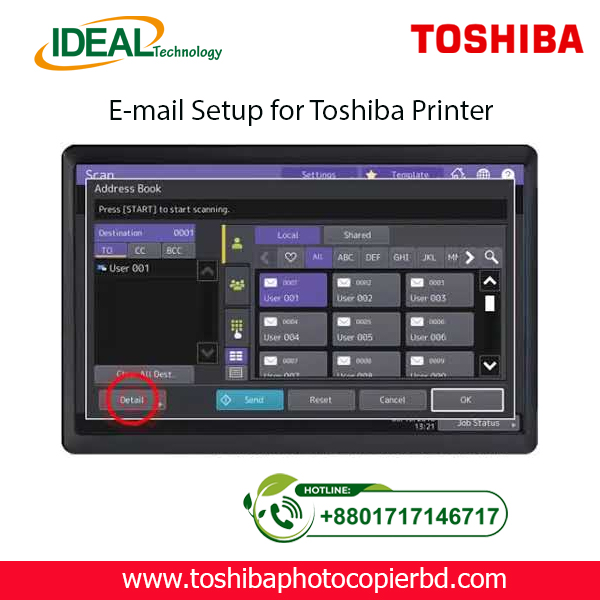
How to Setup Email on Toshiba e-Studio Printer?
If you are looking to set up email on your Toshiba e-Studio printer, you have come to the right place. In this article, we will walk you through the step-by-step process of configuring your printer to send emails. With the advancements in technology, printers are no longer limited to just printing documents. They can now be used for various tasks, including sending emails. Setting up email on your Toshiba e-Studio printer is a simple process that can be done in just a few minutes. Follow the steps below to get started.
Step 1: Check Your Network Connection
Before setting up email on your Toshiba e-Studio printer, ensure that your printer is connected to the same network as your computer. This is essential to establish a connection between the printer and the email server to send emails.
Step 2: Access the Printer’s Web Interface
To begin the setup process, access the web interface of your Toshiba e-Studio printer. You can do this by entering the printer’s IP address into your web browser. Once you are on the web interface, navigate to the settings menu to configure the email settings.
Step 3: Configure Email Settings
In the settings menu, locate the email settings option and enter the details of your email server, such as the SMTP server address, port number, and authentication settings. You will also need to enter the email address from which the emails will be sent.
Step 4: Test Email Settings
After entering the email settings, test the configuration by sending a test email from the printer. This will help you verify that the email setup is successful and that you can send emails from your Toshiba e-Studio printer.
Step 5: Send Emails from Your Printer
Once the test email is sent successfully, you can now start sending emails directly from your Toshiba e-Studio printer. Simply select the document you want to send via email and choose the email option from the printer’s menu.
By following these simple steps, you can easily set up email on your Toshiba e-Studio printer and send emails directly from the printer. This convenient feature allows you to streamline your workflow and send important documents quickly and efficiently.
In conclusion, setting up email on your Toshiba e-Studio printer is a straightforward process that can greatly enhance the functionality of your printer. With the ability to send emails directly from the printer, you can save time and simplify your work process. So why wait? Follow the steps outlined above and start sending emails from your Toshiba e-Studio printer today!
SEO Meta-description: Learn how to set up email on your Toshiba e-Studio printer in just a few simple steps. Send emails directly from your printer hassle-free.
At Ideal Technology BD, we are dedicated to providing expert guidance on setting up and optimizing your Toshiba e-Studio printer. If you have any questions or need assistance with configuring your printer, feel free to reach out to our team for support. Happy printing!
Add a review
Your email address will not be published. Required fields are marked *